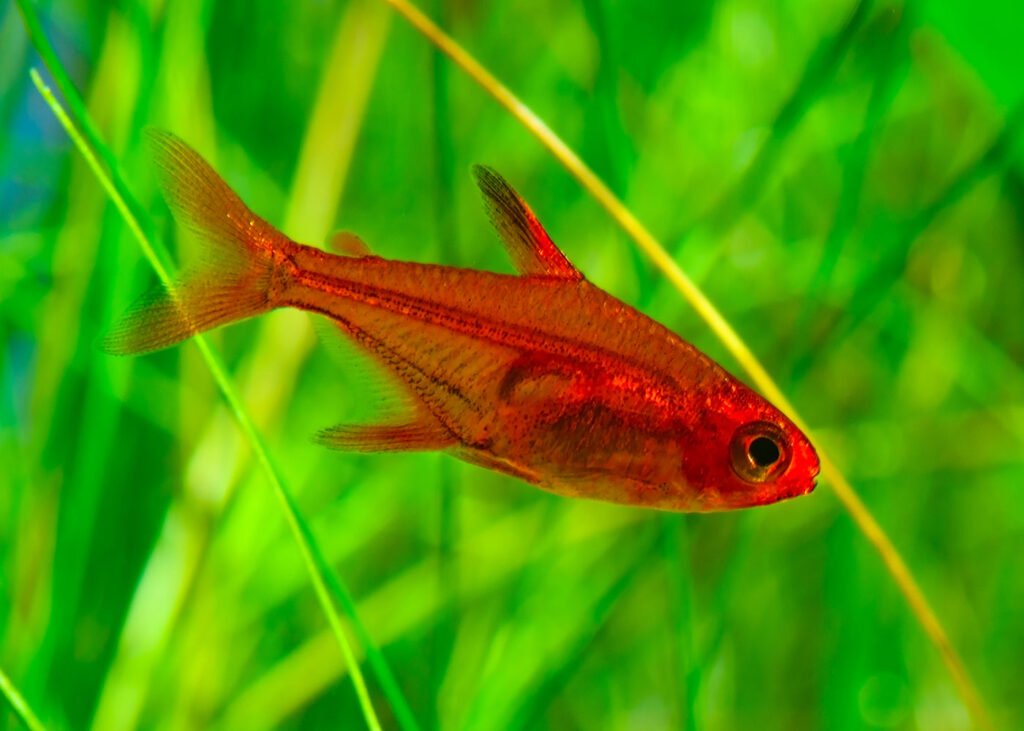
Posted inAquarium Fish Ember Tetras: All You Need to Know Posted by indooraqua June 11, 2025 If you want to get a small, peaceful, and beautiful fish to enlighten your aquarium?…
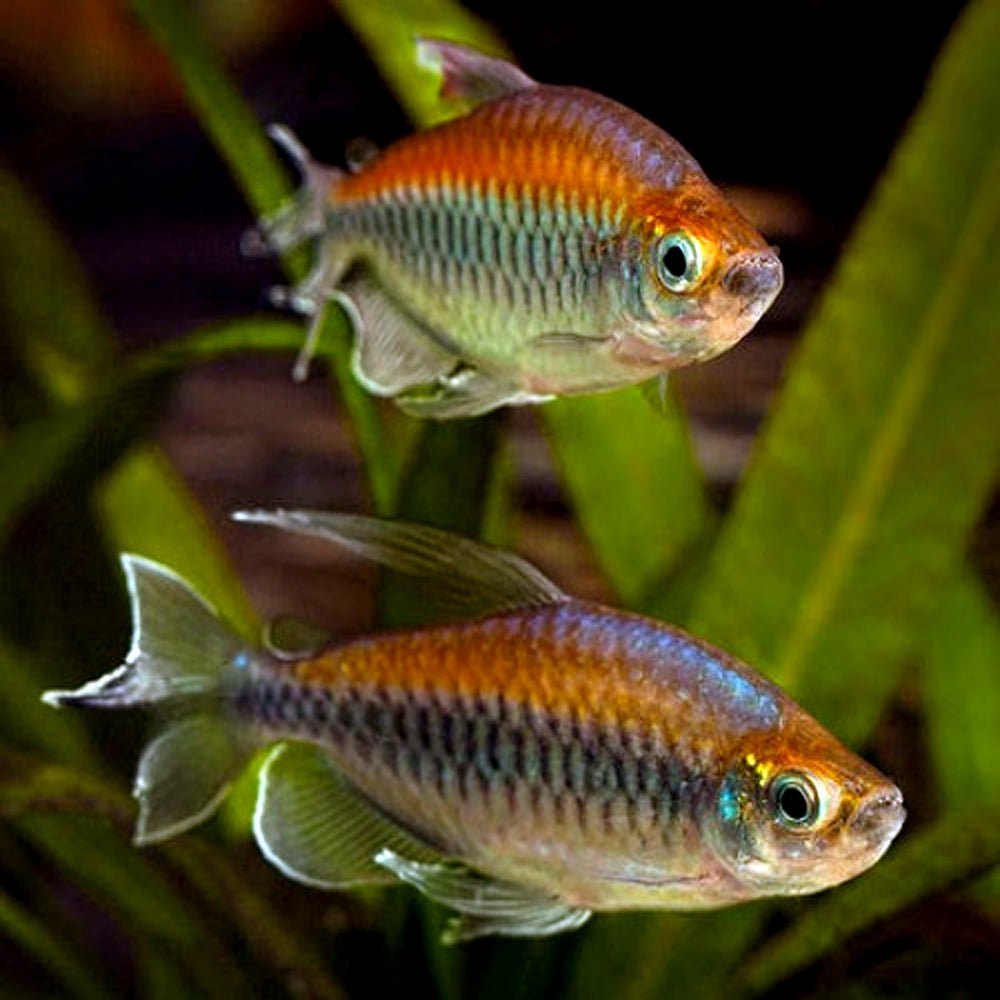
Posted inAquarium Fish Congo Tetra: All You Need to Know Posted by indooraqua June 10, 2025 Congo Tetra, one of the most beautiful and energetic aquarium fish. The rainbow-glowing fish with…
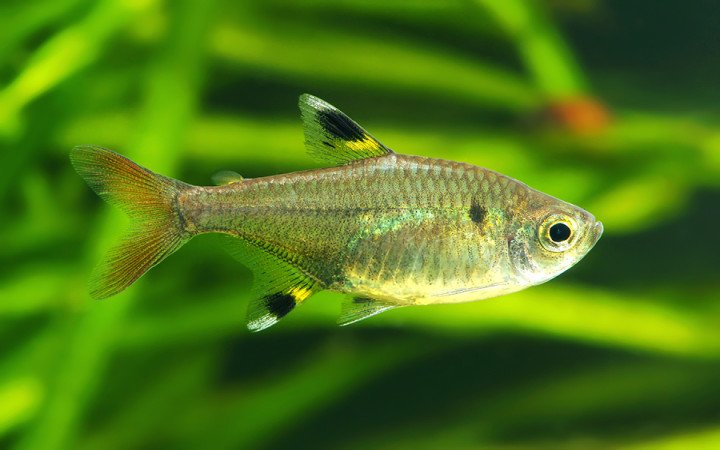
Posted inAquarium Fish Black Skirt Tetra: All You Need to Know Posted by indooraqua June 9, 2025 When it comes to adding some flair and movement to your home aquarium, the black…
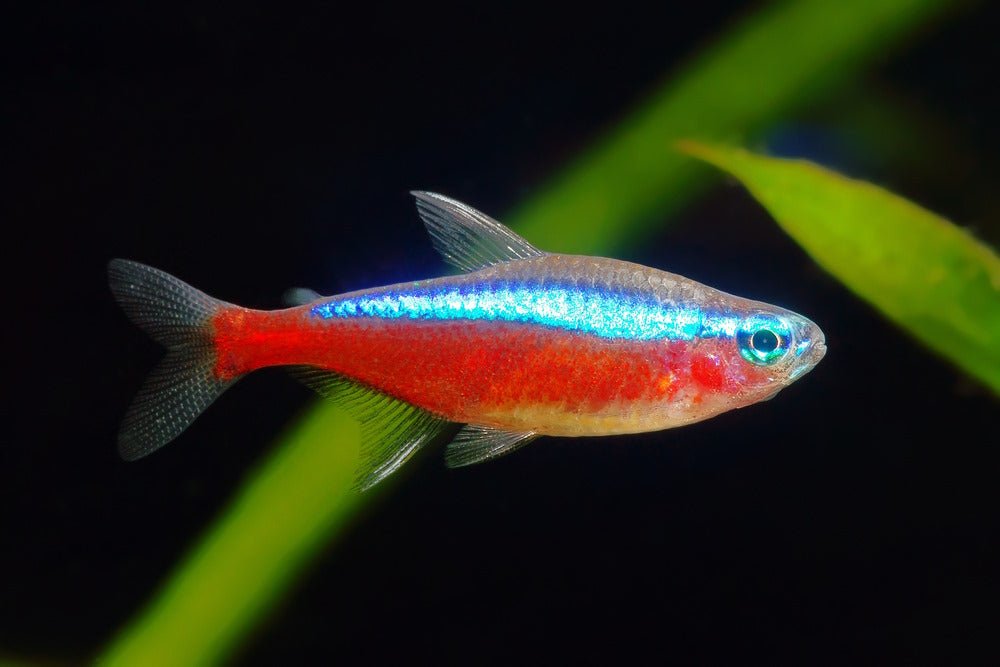
Posted inAquarium Fish Cardinal Tetra: The Gem of Your Aquarium Posted by indooraqua June 8, 2025 Have you ever looked into a tank and felt mesmerized by a shimmering streak of…
Posted inAquarium Fish Platy Fish: The Perfect Colorful Companion for Your Aquarium Posted by indooraqua June 7, 2025 If you're dipping your toes into the wonderful world of fishkeeping, few species make a…
Posted inAquarium Fish X-ray Tetra: The Transparent Marvel of Freshwater Aquariums Posted by indooraqua June 6, 2025 Have you ever wished you could see through something just to know what’s going on…
Posted inAquarium Fish Ember Tetra: The Tiny Flame That Lights Up Your Aquarium Posted by indooraqua June 3, 2025 If you're looking for a vibrant, peaceful fish to liven up your freshwater tank, the…
Posted inAquarium Fish Tetras: Colorful, Peaceful, and Perfect for Your Aquarium Posted by indooraqua June 2, 2025 If you’ve ever wandered into an aquarium store and caught a glimpse of tiny, shimmering…
Posted inAqua scaping Aquarium Fish Largest Aquarium in the World: Discover Ocean Wonders Posted by indooraqua May 22, 2025 Imagine walking through a tunnel surrounded by sharks, stingrays, and shimmering schools of fish, with…
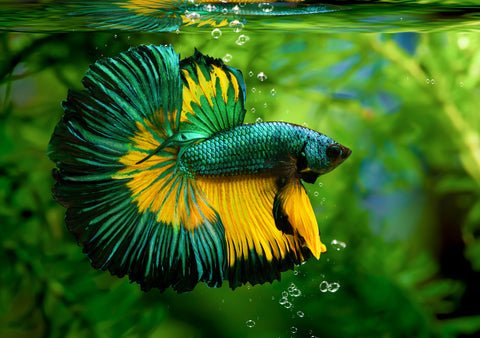
Posted inAquarium Fish Betta in Fish Tank: For a Healthy Betta Posted by indooraqua May 21, 2025 Betta fish are tiny , very colorful and a aquarium fish of gorgeous style. Whether…