Posted inReviews Bubble Nests : Why Your Betta Fish Build Bubble Nests Posted by indooraqua October 7, 2024 If you own a Betta fish, you’ve probably noticed small clusters of bubbles at the…
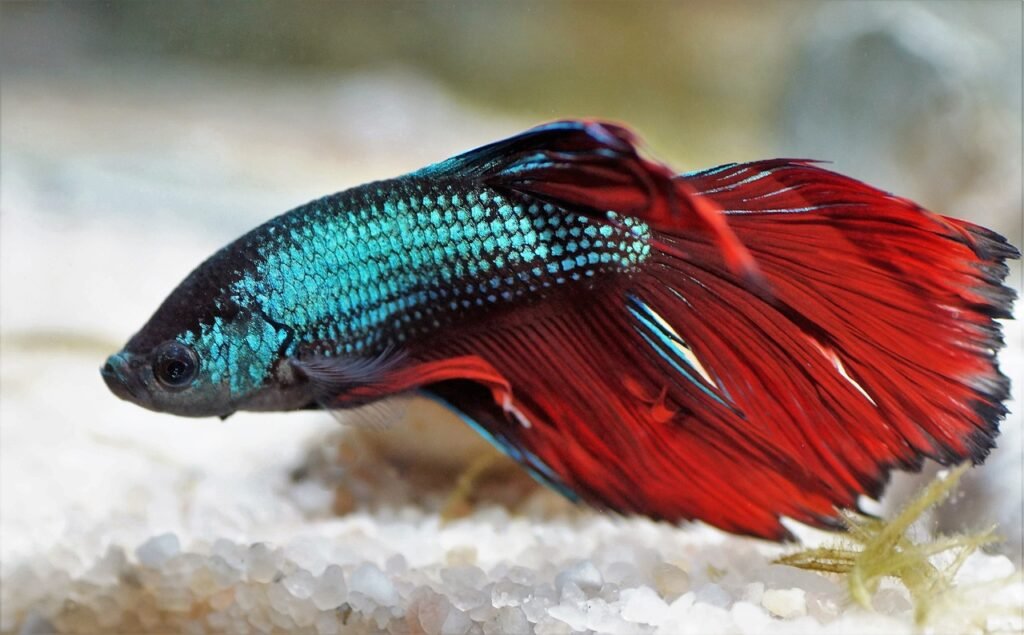
Posted inFish Betta Fish Care for Beginners: Everything You Need to Know Posted by indooraqua October 5, 2024 Betta fish, with their bright colors and flowing fins, are a popular choice for both…
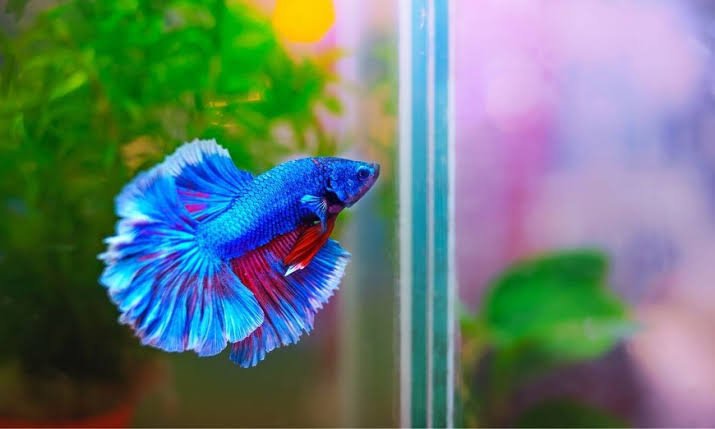
Posted inFish What Your Betta is Trying to Tell You Posted by indooraqua October 4, 2024 Betta fish, with their striking colors and flowing fins, are not only beautiful but also…
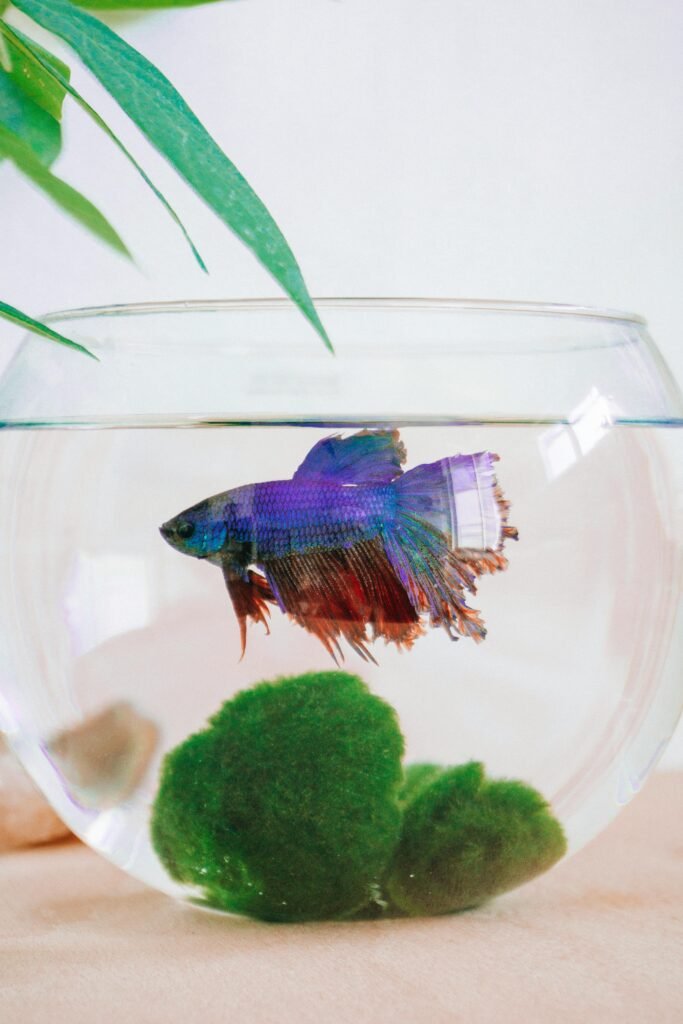
Posted inFish Creating a Natural Betta Habitat with Live Plants: A Complete Guide Posted by indooraqua October 3, 2024 Creating a natural habitat for your Betta fish using live plants not only enhances the…
Posted inReviews Betta Fish Diet: The Ideal Foods for Health and Longevity Posted by indooraqua October 2, 2024 Betta fish are not only known for their vibrant colors and flowing fins, but also…
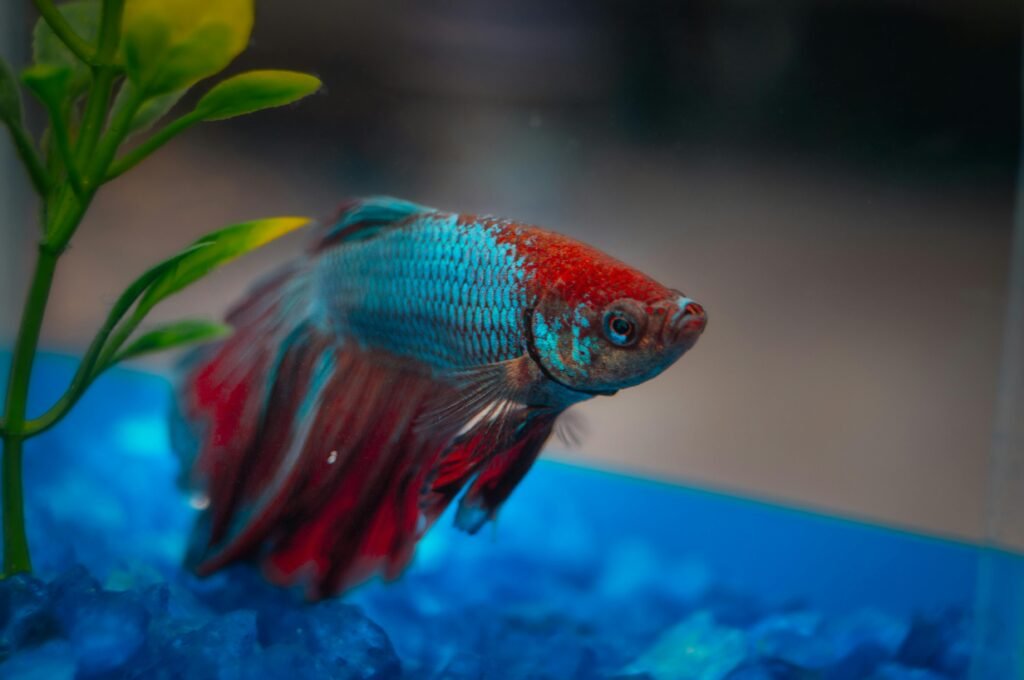
Posted inFish Betta Tank Mates: How to Choose the Right Companions Posted by indooraqua October 1, 2024 Betta fish, with their striking colors and unique personalities, can sometimes be challenging when it…
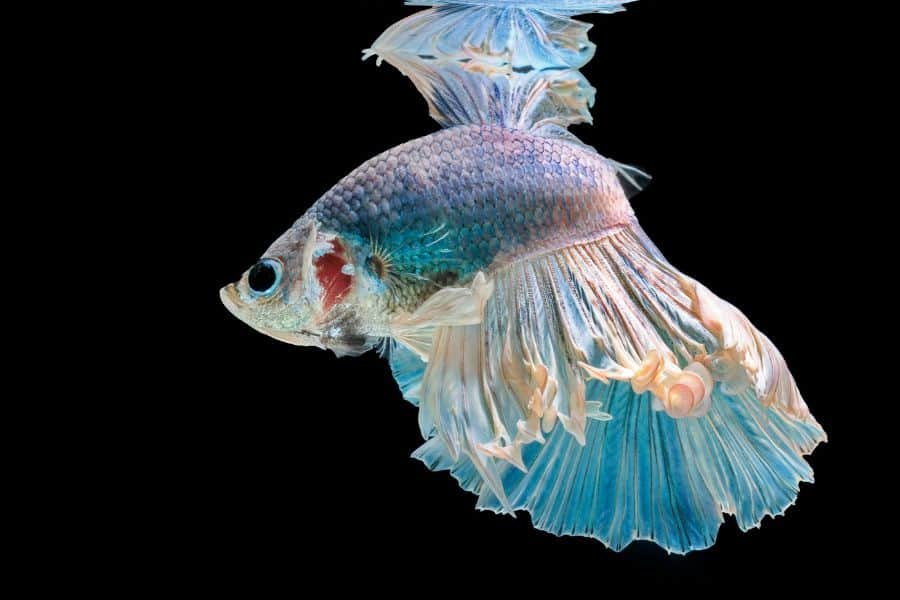
Posted inFish Betta Fish Diseases: The Best Prevention and Treatment Posted by indooraqua October 1, 2024 Betta fish are hardy and resilient, but they are not immune to illnesses. Poor water…
Posted inFish Betta Tank Setup: Beginners Guide Posted by indooraqua October 1, 2024 Setting up a Betta tank properly is essential for ensuring your Betta thrives in a…
Posted inReviews How to Maintain Air Pumps for Healthy Aquariums Posted by indooraqua September 30, 2024 Aeration is a key aspect of keeping your aquarium healthy and thriving. It ensures that…
Posted inAquarium Care How Water Flow Affects Aquarium Health Posted by indooraqua September 30, 2024 Water flow is a critical but sometimes overlooked factor in maintaining a healthy aquarium. It…