Posted inPlants The Best Tips for Healthy Aquatic Plants Posted by indooraqua September 27, 2024 Adding live plants to your aquarium can transform it into a beautiful, vibrant underwater landscape.…
Posted inAquarium Care Best Practices for Cleaning a Saltwater Aquarium Posted by indooraqua September 27, 2024 Maintaining a saltwater aquarium can be a rewarding but challenging endeavor. With its vibrant fish,…
Posted inAquarium Care Why Regular Water Testing Is Essential for Aquarium Maintenance Posted by indooraqua September 21, 2024 If you’re serious about keeping a healthy aquarium, regular water testing is one of the…
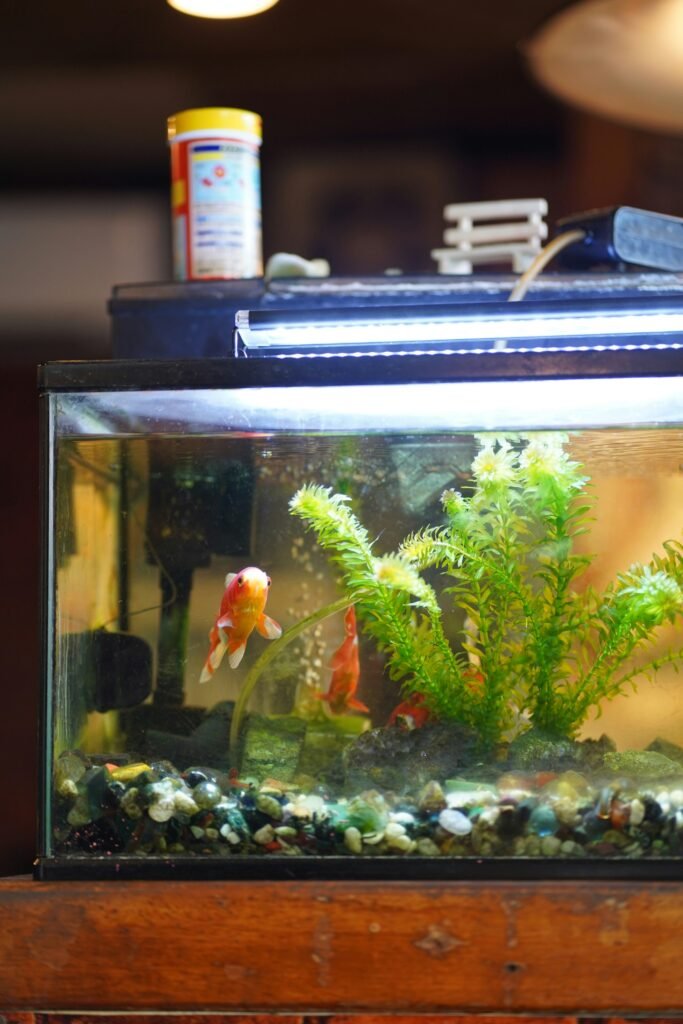
Posted inAquarium Care How to Maintain a Proper Aquarium Lighting Posted by indooraqua September 20, 2024 Lighting is one of the most important, yet often overlooked, factors in keeping an aquarium…
Posted inAquarium Care The Best Way to Deep Clean Your Aquarium Posted by indooraqua September 19, 2024 Deep cleaning your aquarium is crucial for maintaining a healthy environment for your fish, but…
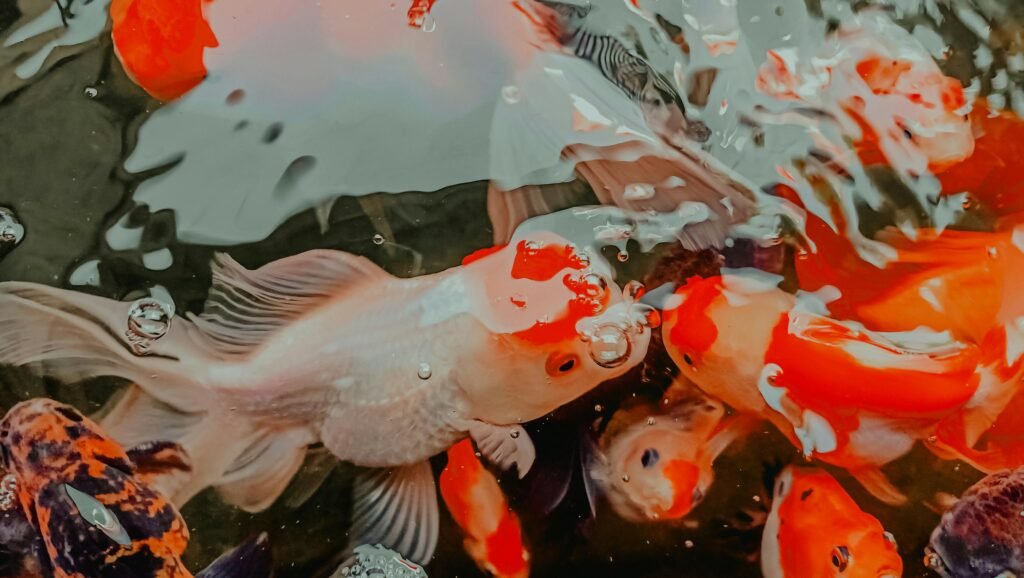
Posted inFish The Best Way of Keeping Goldfish, Common Myths Posted by indooraqua September 18, 2024 Goldfish have long been one of the most popular pet fish, often thought of as…
Posted inAquarium Care The Best Way of Monthly Aquarium Maintenance Posted by indooraqua September 17, 2024 Keeping your aquarium in top condition goes beyond just weekly cleaning. While regular water changes…
Posted inAquarium Care The Best Way of Weekly Aquarium Maintenance Posted by indooraqua September 16, 2024 Keeping your aquarium clean and healthy doesn't have to be overwhelming. In fact, setting aside…
Posted inPlants How to Grow and Care for Anubias Plants Posted by indooraqua September 16, 2024 Anubias plants are among the most beloved and widely used plants in the aquarium hobby,…
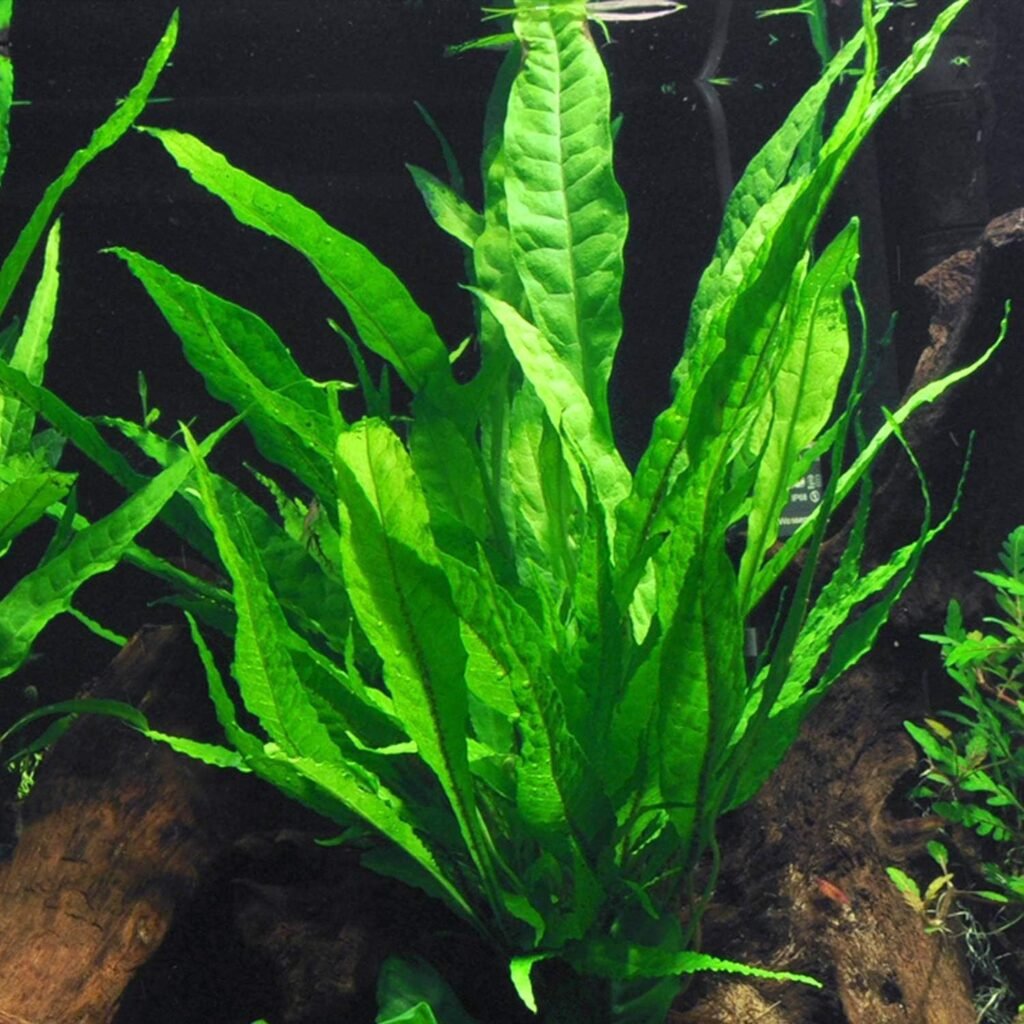
Posted inPlants Everything You Need to Know About Amazon Sword Plants Posted by indooraqua September 14, 2024 Amazon Sword plants are one of the most popular and versatile aquatic plants in the…